Intro
This page will give an overview of the workflow of the mobile app. We think everything is self-evident, but in case not, here are the explanations.
Location
The app can be found by pointing your web browser to https://mobile.gospeldoctrine.com
Current Version
- 2.0
Features
- Simple interface - while the website is mobile-friendly, it does have more to it than just the scripture commentary pages and we've occasionally broken it when updating the website. This app strips away everything unnecessary, leaving just the core of the website's content and only relies on the website's database.
- Designed for mobile - this is a full app for Android and iOS and any other mobile devices too. You just need a browser that lets you install Progressive Web Apps.
- Also available for desktop - this app can also be installed on Windows, Mac, and Linux. You just need a browser that lets you install Progressive Web Apps.
- No huge download - the app is still somewhat tied to the internet, so that you can be sure you're always getting the latest revision of a page. We make corrections and updates almost daily, so you'll want to be sure you're seeing the latest. Consequently, the app will not be one massive download of all available content. Instead, the app will download content as-needed.
- Hybrid online/offline app - while the internet is needed to download pages initially, they are stored for offline viewing and are only updated if a new revision to the page is detected. This means you can visit the pages you'll need for the following week, then go on vacation to the middle of nowhere and access those newly-downloaded pages while offline. Just be sure to look at those pages once before you lose internet access! See the 'Limitations', below. And also, please don't just download a ton of pages 'just because'. We run this on a shoe-string budget so we can keep things free. Thanks!
Requirements
Android, iOS, PC, Mac, Linux
- Any version with a browser that supports Progressive Web Apps (PWAs)
Limitations
- Images may or may not be stored locally on your device at this time, depending on your device. They may be for sure in a future version of the app. Images may therefore not appear when you're offline with no internet connection available. It is not a bug.
Bug reports?
Please use the Contact Us form with Mobile App as the subject. If you don't meet the requirements above, please don't report bugs. Also, see the limitations, above, before reporting a bug.
Installation
Why install? The app will operate the same way whether you install it or not. There are two reasons to install it.
- You will get an app icon like other apps on your device.
- You will run in browserless mode, removing browser bars and giving more room on the screen for the app. Compare the left (browser) image with the right (browserless).

- iOS
- iOS does not have full support for Progressive Web Apps (PWAs) so you will not be asked by the application whether you want to install or not. Instead, you can manually install the app.
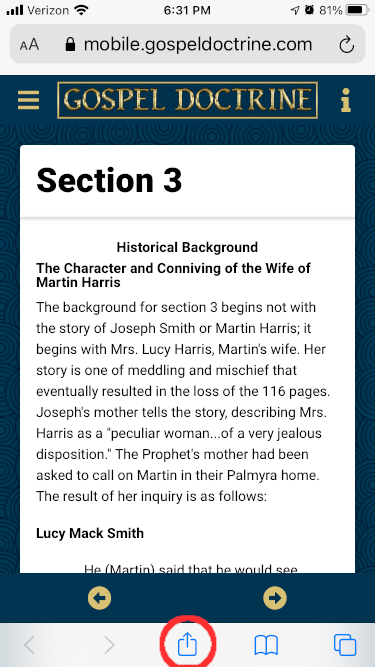
- Visit https://mobile.gospeldoctrine.com using Safari since other browsers may not have the button we're looking for
- Click on the Share button (circled in red)
- In the menu that appears, swipe up to reveal more options

- Click the "Add to Home Screen" button
- You will now have an app icon on your Home Screen and the app will now run in browserless mode, which removes the top and bottom browser bars
- UPDATES: iOS will not automatically apply updates that we publish. iOS is far behind in supporting PWA mobile apps. Anyway, periodically, you may want to force an update. Be sure to kill the GospelDoctrine app before doing the following process. You can clear the cache and force an update by going to your device Settings, then find the entry for Safari, then Advanced, then Website Data, then search for 'gospeldoctrine', and finally, swipe left which reveals a Delete button. Click the Delete button. Next time you run the GospelDoctrine app, it SHOULD download the new version.
- Android
- I don't have an Android. If someone can take screen shots and tell me what the install process is, I will replace this section. I suspect it is like the PC/Mac/Linux section, below.
- PC/Mac/Linux
- Most steps will be the same for all desktop computers. Differences will be noted.
- Begin with a browser that supports PWAs. I'm only aware of Internet Explorer not working since it is old.
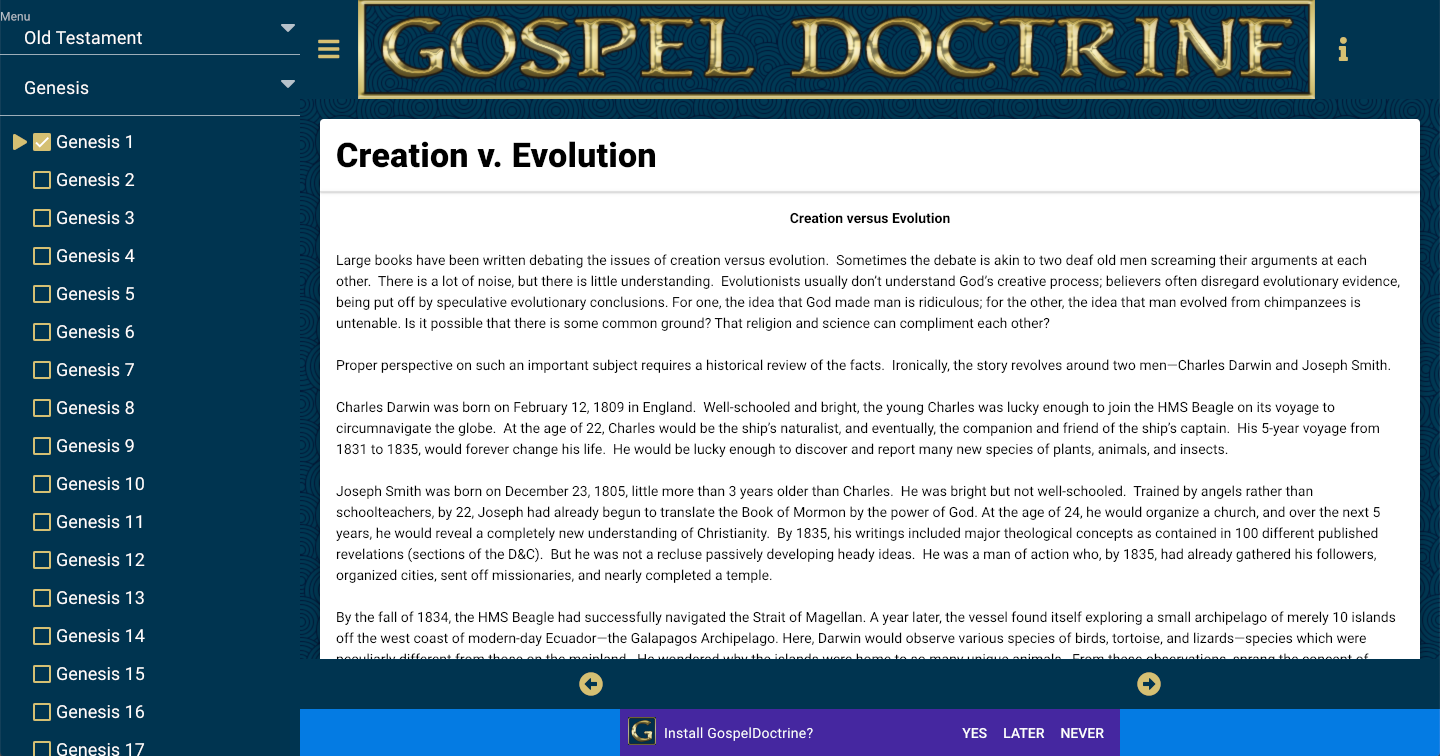
- After visiting https://mobile.gospeldoctrine.com at least twice, you should see a prompt at the bottom of your screen in purple.
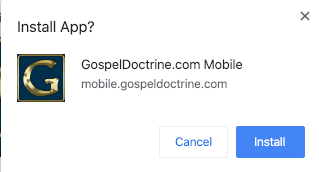
- You will get a confirmation prompt from your browser. Click "Install" to continue.
- For PC and Linux (I think), the app icon should show up on your desktop. For iOS, you will see the following screen
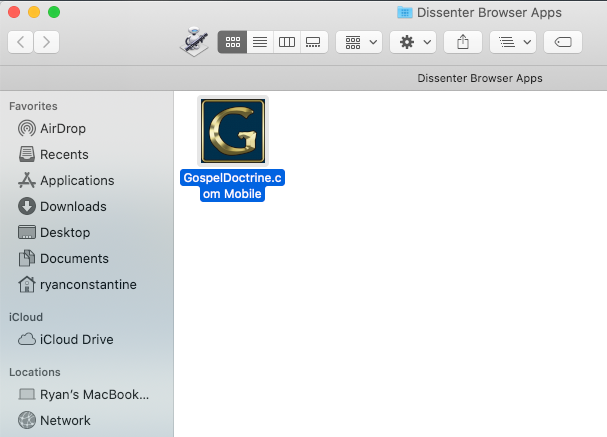
- I suggest grabbing the icon and moving it to "Applications" in your favorites on the left. This will allow it to show up in your LaunchPad.
- Manual Installation: Before you get the install prompt, or if you have ever selected the "Never" option, you can still install the app manually. In your browser's address bar, click the plus icon, circled in red below

- Select "Install" which will give you the confirmation prompt, above.
- UPDATES: Unlike iOS, you should get a prompt letting you know there has been an update. Accept it and the app will reload.
Uninstall
- iOS
- Simply delete like any other app
- Android
- Simply delete like any other app
- PC/Mac/Linux
- Click the menu button in the app. It should be either top right, or top left. Select "Uninstall GospelDoctrine.com Mobile"
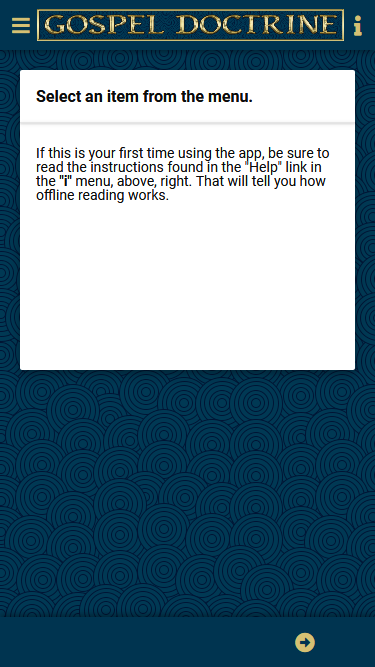
Initial screen
The i (info) menu

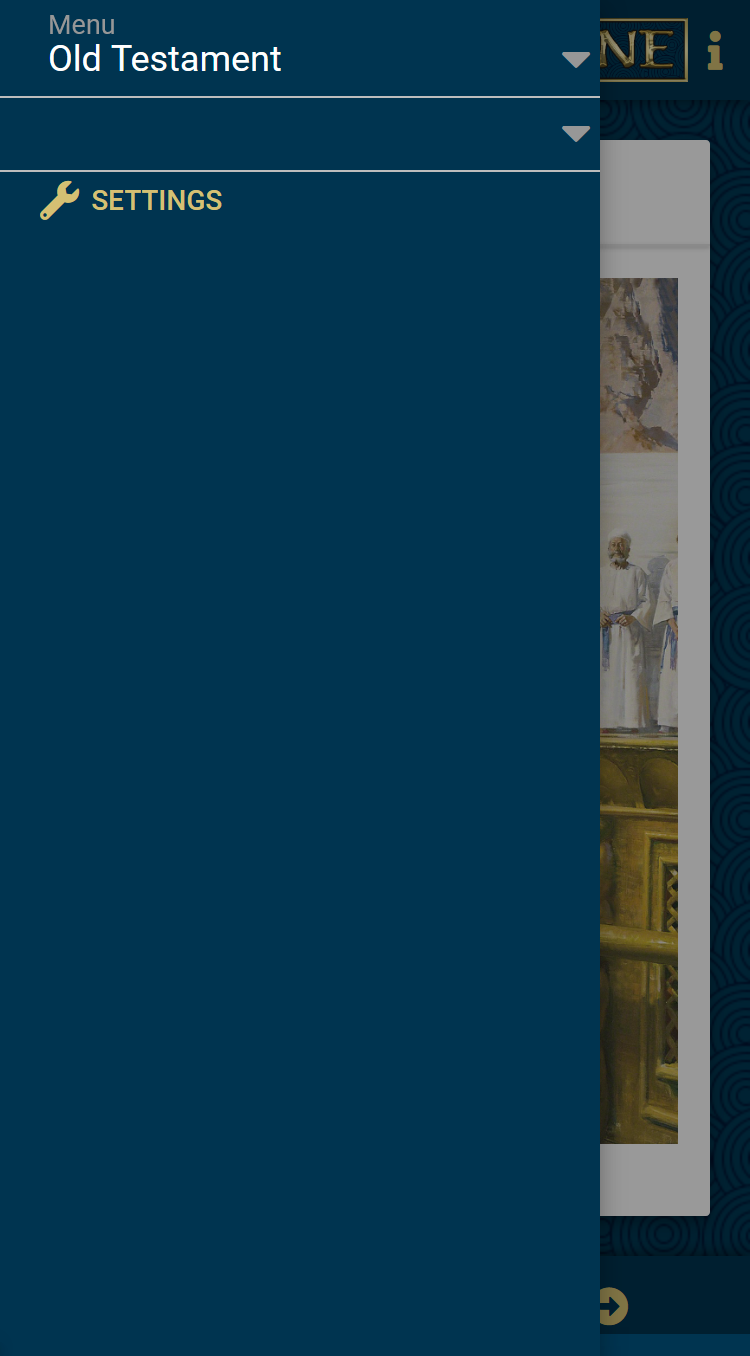
Slide-out menu, before selecting a page

The Settings menu
- Refresh Menu will delete the whole menu structure stored on your device, plus the identifier of the current page. This will allow the app to re-download the menu structure.
Q: Why would you need to clear the menu?
A: In order to save on server resources, and because we rarely make any changes to the page structure of the website (we're talking one or two changes every few years), once the menu is downloaded, the app will not ask the website for updates to the menu, but will rely only on the downloaded menu. If we have made a change, then you can clear the menu to make sure you get the latest. A future version may include a push notification that would alert you to menu changes and ask if you want to update it at that time. - Clear All Stored Data will delete all menu data, and all stored pages. You would do this if you see that too much storage is being taken up by this app and you want to free some up. This app will store every page you ever look at so that it can load it when you're out of Wi-Fi or cell service. So it's possible that you'll eventually have pages stored that you haven't looked at in months or years, nor intend to look at anytime soon. Clearing all of the stored data will refresh things so you can start again. Note, I have not measured how much space this app takes up if you download all pages.

Show the first menu tier

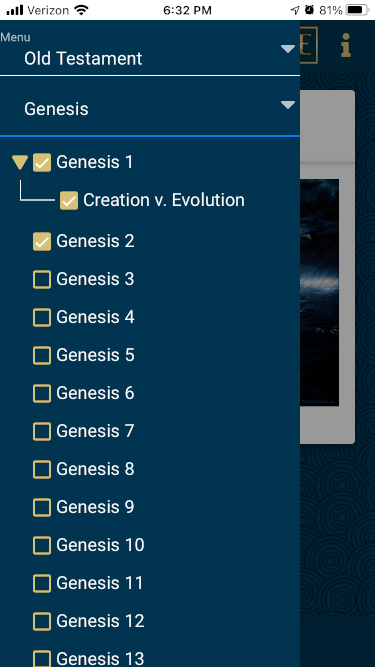
Once the first menu selection is made
Clicking the second menu

Once the second menu selection is made
This tier now has empty checkboxes. You cannot check the boxes yourself. Instead, they are indicators of the pages you have viewed and which you can again view in offline mode. As mentioned elsewhere, if you know you will be out of internet service, you can use this feature to visit pages ahead of time so you have them during your internet-free period.
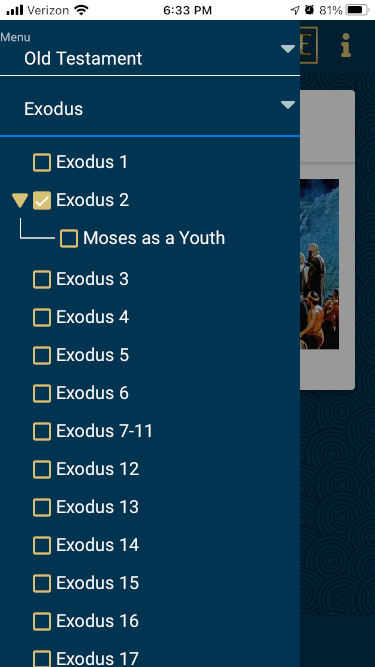
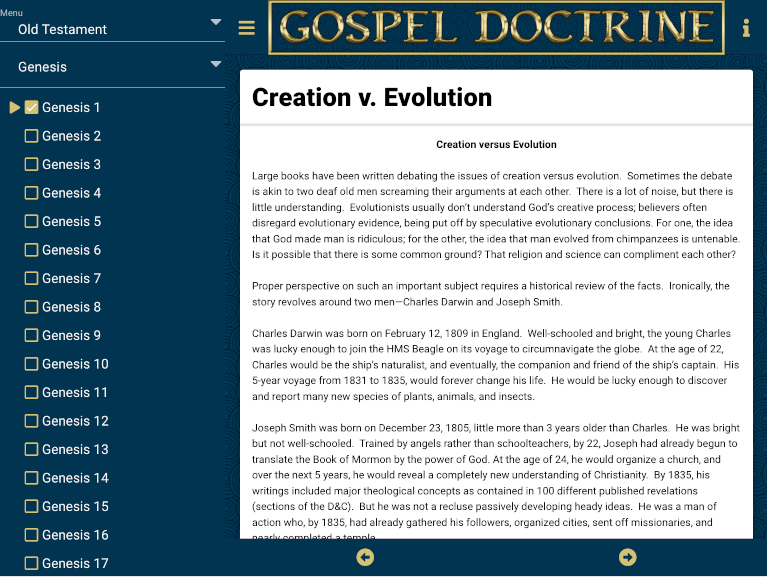
The third menu can have collapsed parts
The chosen page
Notice the PREVIOUS and NEXT buttons in the footer. They will appear only if you can reasonably go forward or backward within the current book - in this case, Genesis. PREVIOUS in this example will take you to Genesis 1; NEXT will take you to Genesis 2; So these buttons include traversing parent/child structures.
Scrolling down removes header and footer
"Back to top" button
That's it!
That's all there is to it for version. Send any bug reports or suggestions to us through our contact page.
Small Tablets
Here is what things look like on small tablets:
Large Tablets
Here is what things look like on large tablets and desktop computers:
